Setup Outlook 2016 or higher (Windows) for MAPI
MAPI (Messaging Application Programming Interface) is the latest protocol introduced by Microsoft for Exchange that is intended for desktop clients such as Microsoft Outlook. MAPI supports real-time sync of all email, folders, contacts, calendars, notes, and tasks. MAPI is supported by Outlook 2016 for Windows and above.
IMPORTANT NOTE: For mailboxes that will process and store large volumes of email in excess of 50,000 messages or 5GB, it is STRONGLY recommended that you setup your account using IMAP as MAPI performance suffers greatly when processing large volumes of email.
Adding a MAPI Account to Outlook
You can add your account in Outlook by following the steps below:
- Open Outlook.
- Either use the default Profile Outlook gives you (named, appropriately enough, “Outlook”) or create a new Profile for this account.
- If you want, you can choose to have Outlook prompt you for a specific profile when it opens, or you can set Outlook to always open a specific Profile — it’s your choice.
- Enter the full email address you want to set up.
- Click the Next button.
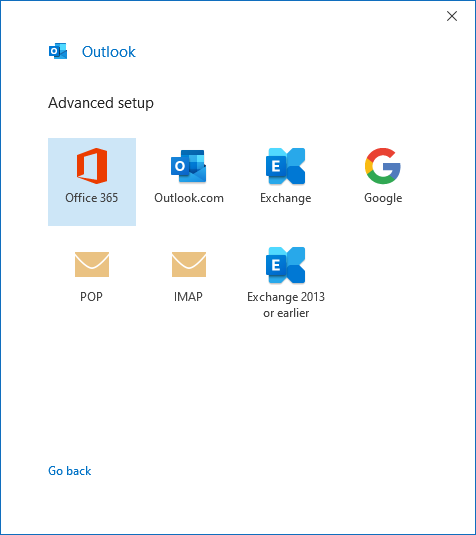
- You may be presented with an Advanced Setup modal — select Exchange from the list of options if you are.

- If you are prompted with a certificate warning, click the Yes button to accept the certificate. (This will generally only occur if you haven’t accepted a connection that uses the same SSL certificate before.)
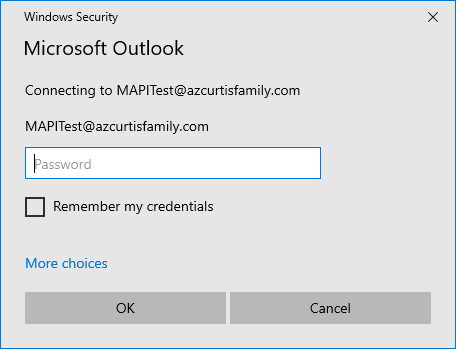
- During the set up process, you’ll see a Windows Security modal that asks for a password — input your mail account password and check the box to “Remember my credentials“. Checking this box saves your credentials in Windows Credential manager.
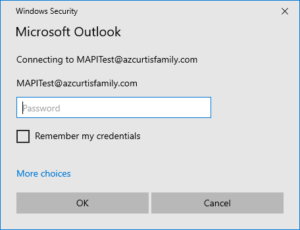
- Click the OK button.
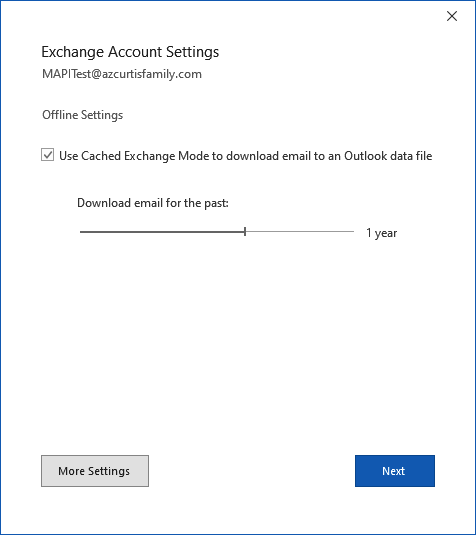
- After you input your password, Outlook will ask you to set your sync settings. This, essentially, is telling Outlook how far back to go to sync your account. By default, 1 year is selected, which is a good place to start. If you have a large mailbox — say, 5GB or more — you may want to limit the sync to 6 months or less, if possible. Regardless, you can always change this in Account Settings once the account is set up.

- Click the Next button.
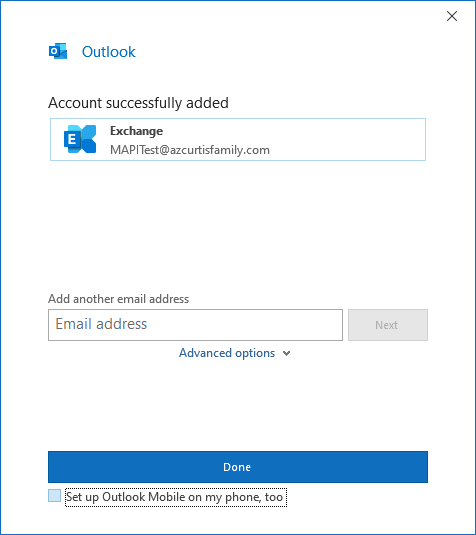
- You will automatically have the account set up in Outlook, and should see the following window:
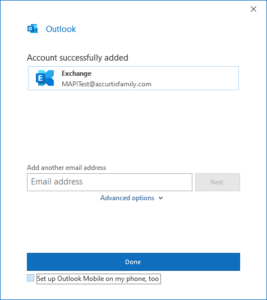
- Clicking the Done button will open Outlook — if you have Outlook set to select a Profile each time you open it, you’ll have to select your newly-created Profile from the dropdown menu. Otherwise, Outlook should open and start syncing to your email account.