Setup Apple Mail (iOS v10) for IMAP
Apple Mail Setup #
In this tutorial we will be guiding you through the process of configuring email on Apple iOS (iPhone or iPad) as an IMAP account. We are using Apple Mail on iOS version 10. If you are using a different version of iOS these instructions may differ slightly.
Apple Mail Settings For IMAP #
iOS Settings #
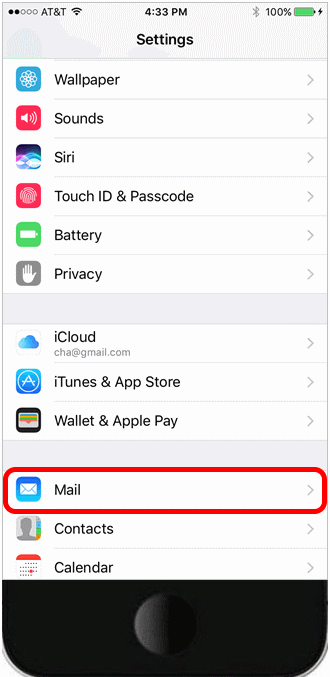
Tap on the SETTINGS icon on your device.
Mail Settings #
Scroll down to MAIL and tap on it.
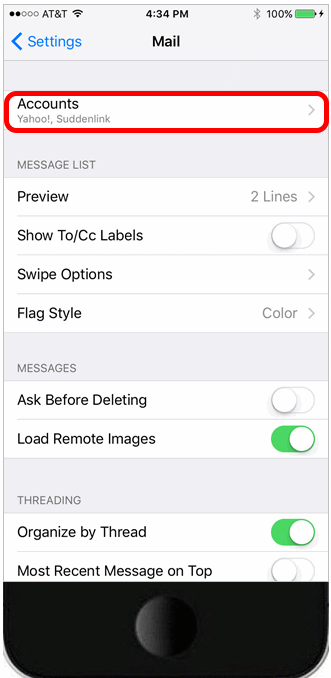
Accounts #
Tap on ACCOUNTS
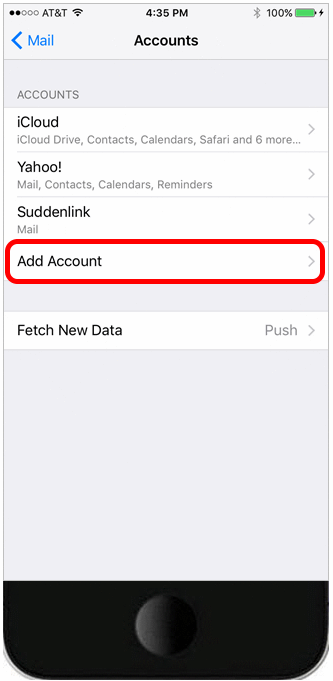
Add Account #
Tap on ADD ACCOUNT
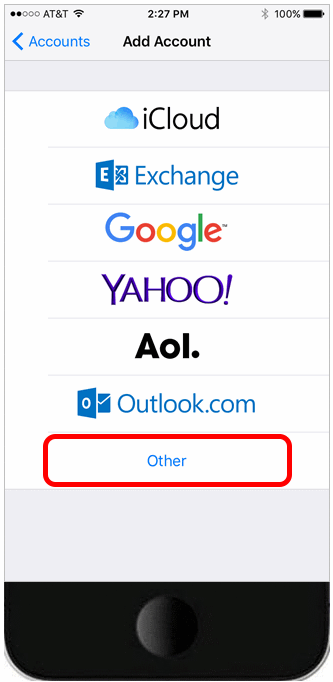
Select your Provider #
Scroll down to the bottom of the list of providers and tap on OTHER
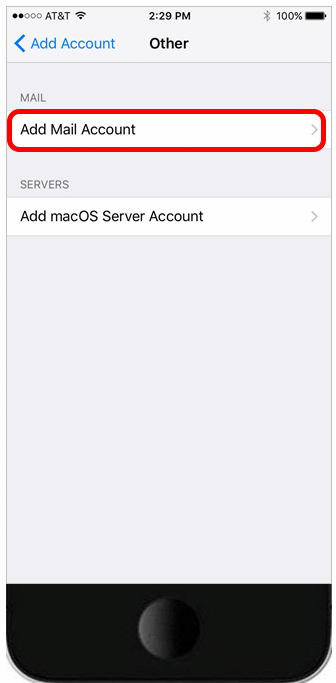
Add Mail Account #
Tap on ADD EMAIL ACCOUNT
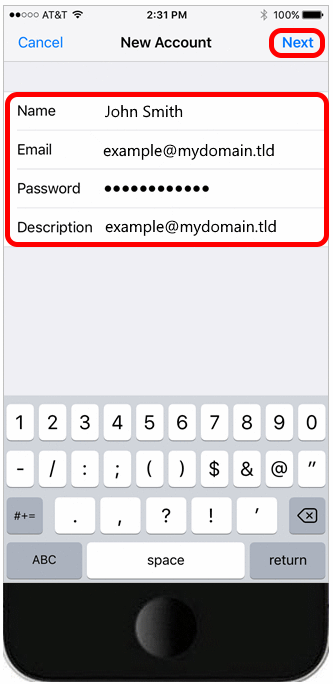
Enter Account Information #
Enter your Name, Email Address, Password, and Description into the appropriate fields (you can use your Email Address or whatever you want for the Description). Tab on [NEXT] in the upper-right corner when complete.
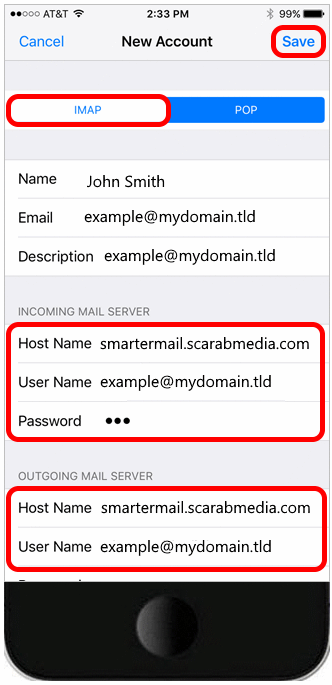
Enter IMAP Information #
Select IMAP and enter the following information in both the “Incoming Mail Server” and “Outgoing Mail Server” sections:
Host Name: smartermail.scarabmedia.com
User Name: Your full email address
Password: Your email password
Tap on [SAVE] when complete.
Open Mail App #
When you launch the Mail app on your device it should sync with your email account.